Setup and menu functions. Part 1
Instructions for use video in more detail. Filmed on 2024 version.
- Overview of 2026-on version.
2) Loading a preset tuning.
3) Setting up the internal dummy string tension.
4) Saving a custom tuning to use next time.
5) String mute buttons.
Setup and use with an iPad running the Bismarck bs-16i app. This is available from the app store for approximately $10. I did not write this app, but it works quite well with the Digi-Gurdy.
NOTE: If using a Bluetooth MIDI transmitter such as a WIDI-Master plugged into the 5 pin socket on the DG, in order to wirelessly pair with an iPad, then with some iPads you also need a small app from the app store called Midimittr to get it to connect. My older iPad has no problem but some newer ones require this.
Setup and use with a completely normal average Android phone. Again here I am using the Android version of the Bismarck bs-16i app available from the Google Play store.
Click the tab below to see the full USER GUIDE of instructions for the menu navigation buttons and features:
Where do I download the Soundfont from that has all the sounds in it for the iPad/iPhone/Android phone?
Click the tab below:
Can I get a bag for it?

This is a 4 racquet generic Tennis/Badminton bag and it works just fine. 6-racquet ones are more common online and obviously they would be OK too. This applies to the shorter version, not the one with the longer mock-carved French style head.
The DG (stubby version) will also fit OK in a Nerdy-Gurdy hard case as sold by Jaap Brand although these are more expensive.
Setup and menu functions. Part 2
6) Adjusting individual (imaginary) string volumes.
7) Modifying the functions of the small buttons. The user can change what they do from the default settings.
8) Modifying the way notes are displayed on screen + Buzz Radar visualiser!
9) Metronome function: This has several selectable sounds apart from a click, a drum for example – so it can also be used as a very basic background rhythm generator.
10) Other menu functions PLUS experimental Web-GUI.
Battery compartment: This is a small phone power bank which you can extract and put your own battery into, if you need a self-contained power supply. I also now supply a 3D printed alternative holder that is a direct swap, and this will hold a commercially available 4-cell AA battery holder, available on Amazon for example.
Can I plug a rechargeable speaker into the headphone socket?
Yes, but be careful. The speaker socket is a proper line-out so can be plugged into an amplifier or speakers. If you have a guitar amp for example, you would plug it into the 3.5mm AUX-in socket on the back. This socket is meant for your backing track from an iPod for example. You cannot plug the DGurdy into a guitar jack as the signal would be too strong and may blow your speaker.
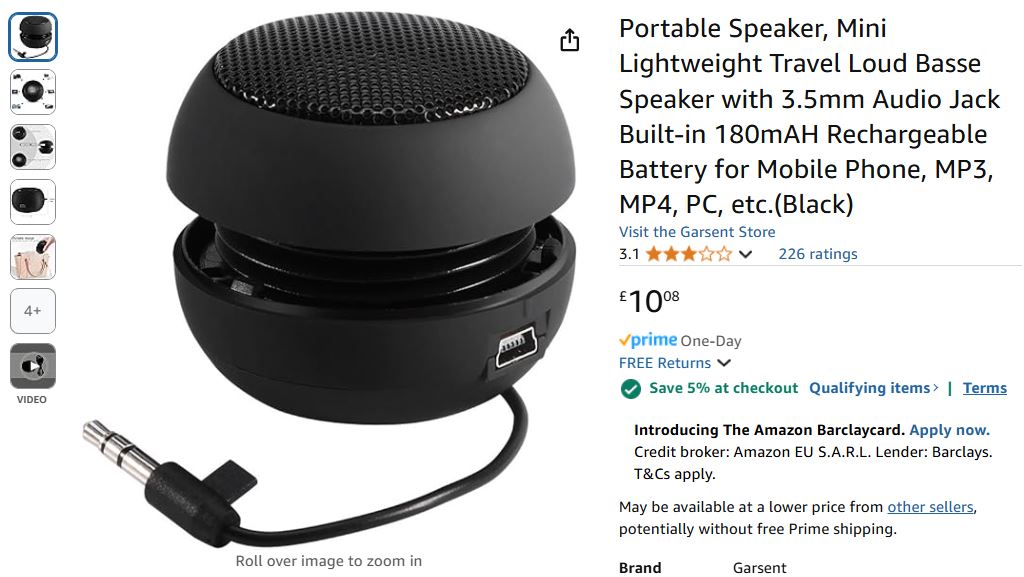
Many rechargeable speakers connect to your phone by Bluetooth, i.e. they have a small computer inside them. Although they DO have a 3.5mm input socket, these often add a DELAY which would not matter for playing a music track but DO matter for an instrument – too much lag. The solutions to this are (i) use a really cheap rechargeable speaker that does NOT have Bluetooth, just an input socket, see example below.
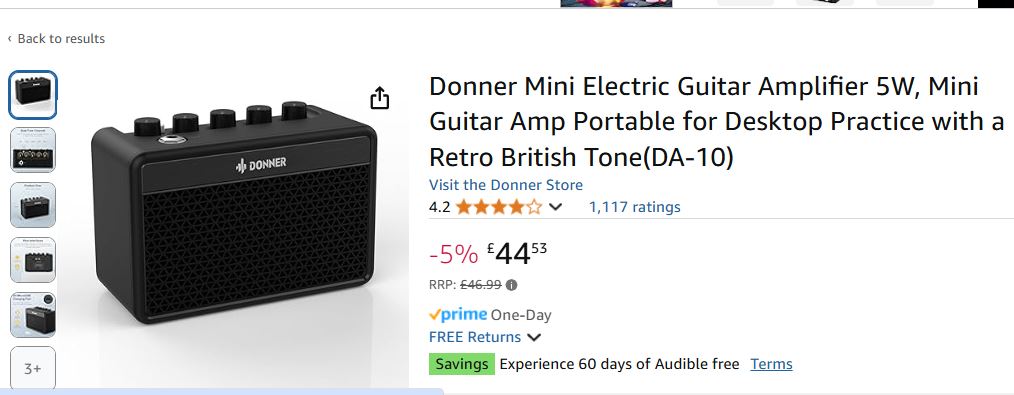
The other method (ii) is to buy a mini guitar amp. These do NOT have Bluetooth and DO have an AUX-in socket on the back. Check this before you buy but most of them have an AUX-in socket. Example is shown below that I know works. Many similar ones online.
If you have the funds, the MINI-Rig speakers are excellent and I know the MINI-Rig 3 definitely works. These are loud, with lots of bass and a good battery life despite their small size. I think they are made for buskers.
Can I get T-shirts or stickers?

Yes, you can get T-shirts and stickers designed by Billy Amateo on RedBubble. Any profits from these go to Billy as he also designed my DG logo. Click the tab below: